 "Bad Hair Day" seems like a good title. Look at all that stuff stuck in there! There is even a squirrel. If that's not a bad hair day, I don't know what is...
I'm not done with the hair (there is more above the pic). Next session.
 So I grabbed a scrap of wedi board. This one was very vertical or very horizontal. I turned it vertically and drew the face near the bottom and lots of hair piled on top. I changed the face a bit and had to do some erasing, but I like how it looks now.
 So far I've put in about half an hour. The next thing I did was put in the wedi washers near the top. This hanging system allows the mosaic to be hung on a nail. This took about 10 minutes.
 She ends up looking older and less glamourous than the drawing, which I'm really happy about!
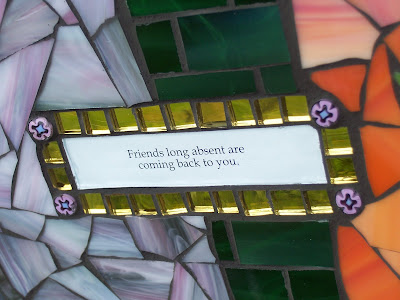
 I've been saving fortunes from cookies forever. Un-fortune-ately, many are stained from the cookie oils, but I still have a pretty good selection. A few years ago, I used some of these in a painting, but this is the first time I've used them in mosaics. I love how they inspire ideas! This is one for the show at 360 I mentioned below.
 I'm also using millefiori for the first time with my most recent mosaics. They add a little flair and they are a bit whimsical, which fits for this theme. I put some in the kiln and melted them to see how that would look. I used the melted ones below in another fortune piece.
 I'm working on some ornaments for the Gallery 360 show. For these I collaged lots of Victorian images in Photoshop. I started with some girls, added wings to each, and decorated the surrounding area with other images of birds, flowers, text, etc... Then I mosaiced each one with clear glass in a pendant tray.
 I am working on a show for Gallery 360 that will be in Nov/Dec. It's a five foot show, so very small. The theme is Victorian Angels. I'm working on large pieces, like the one above (Magical Life) down to small ornaments.